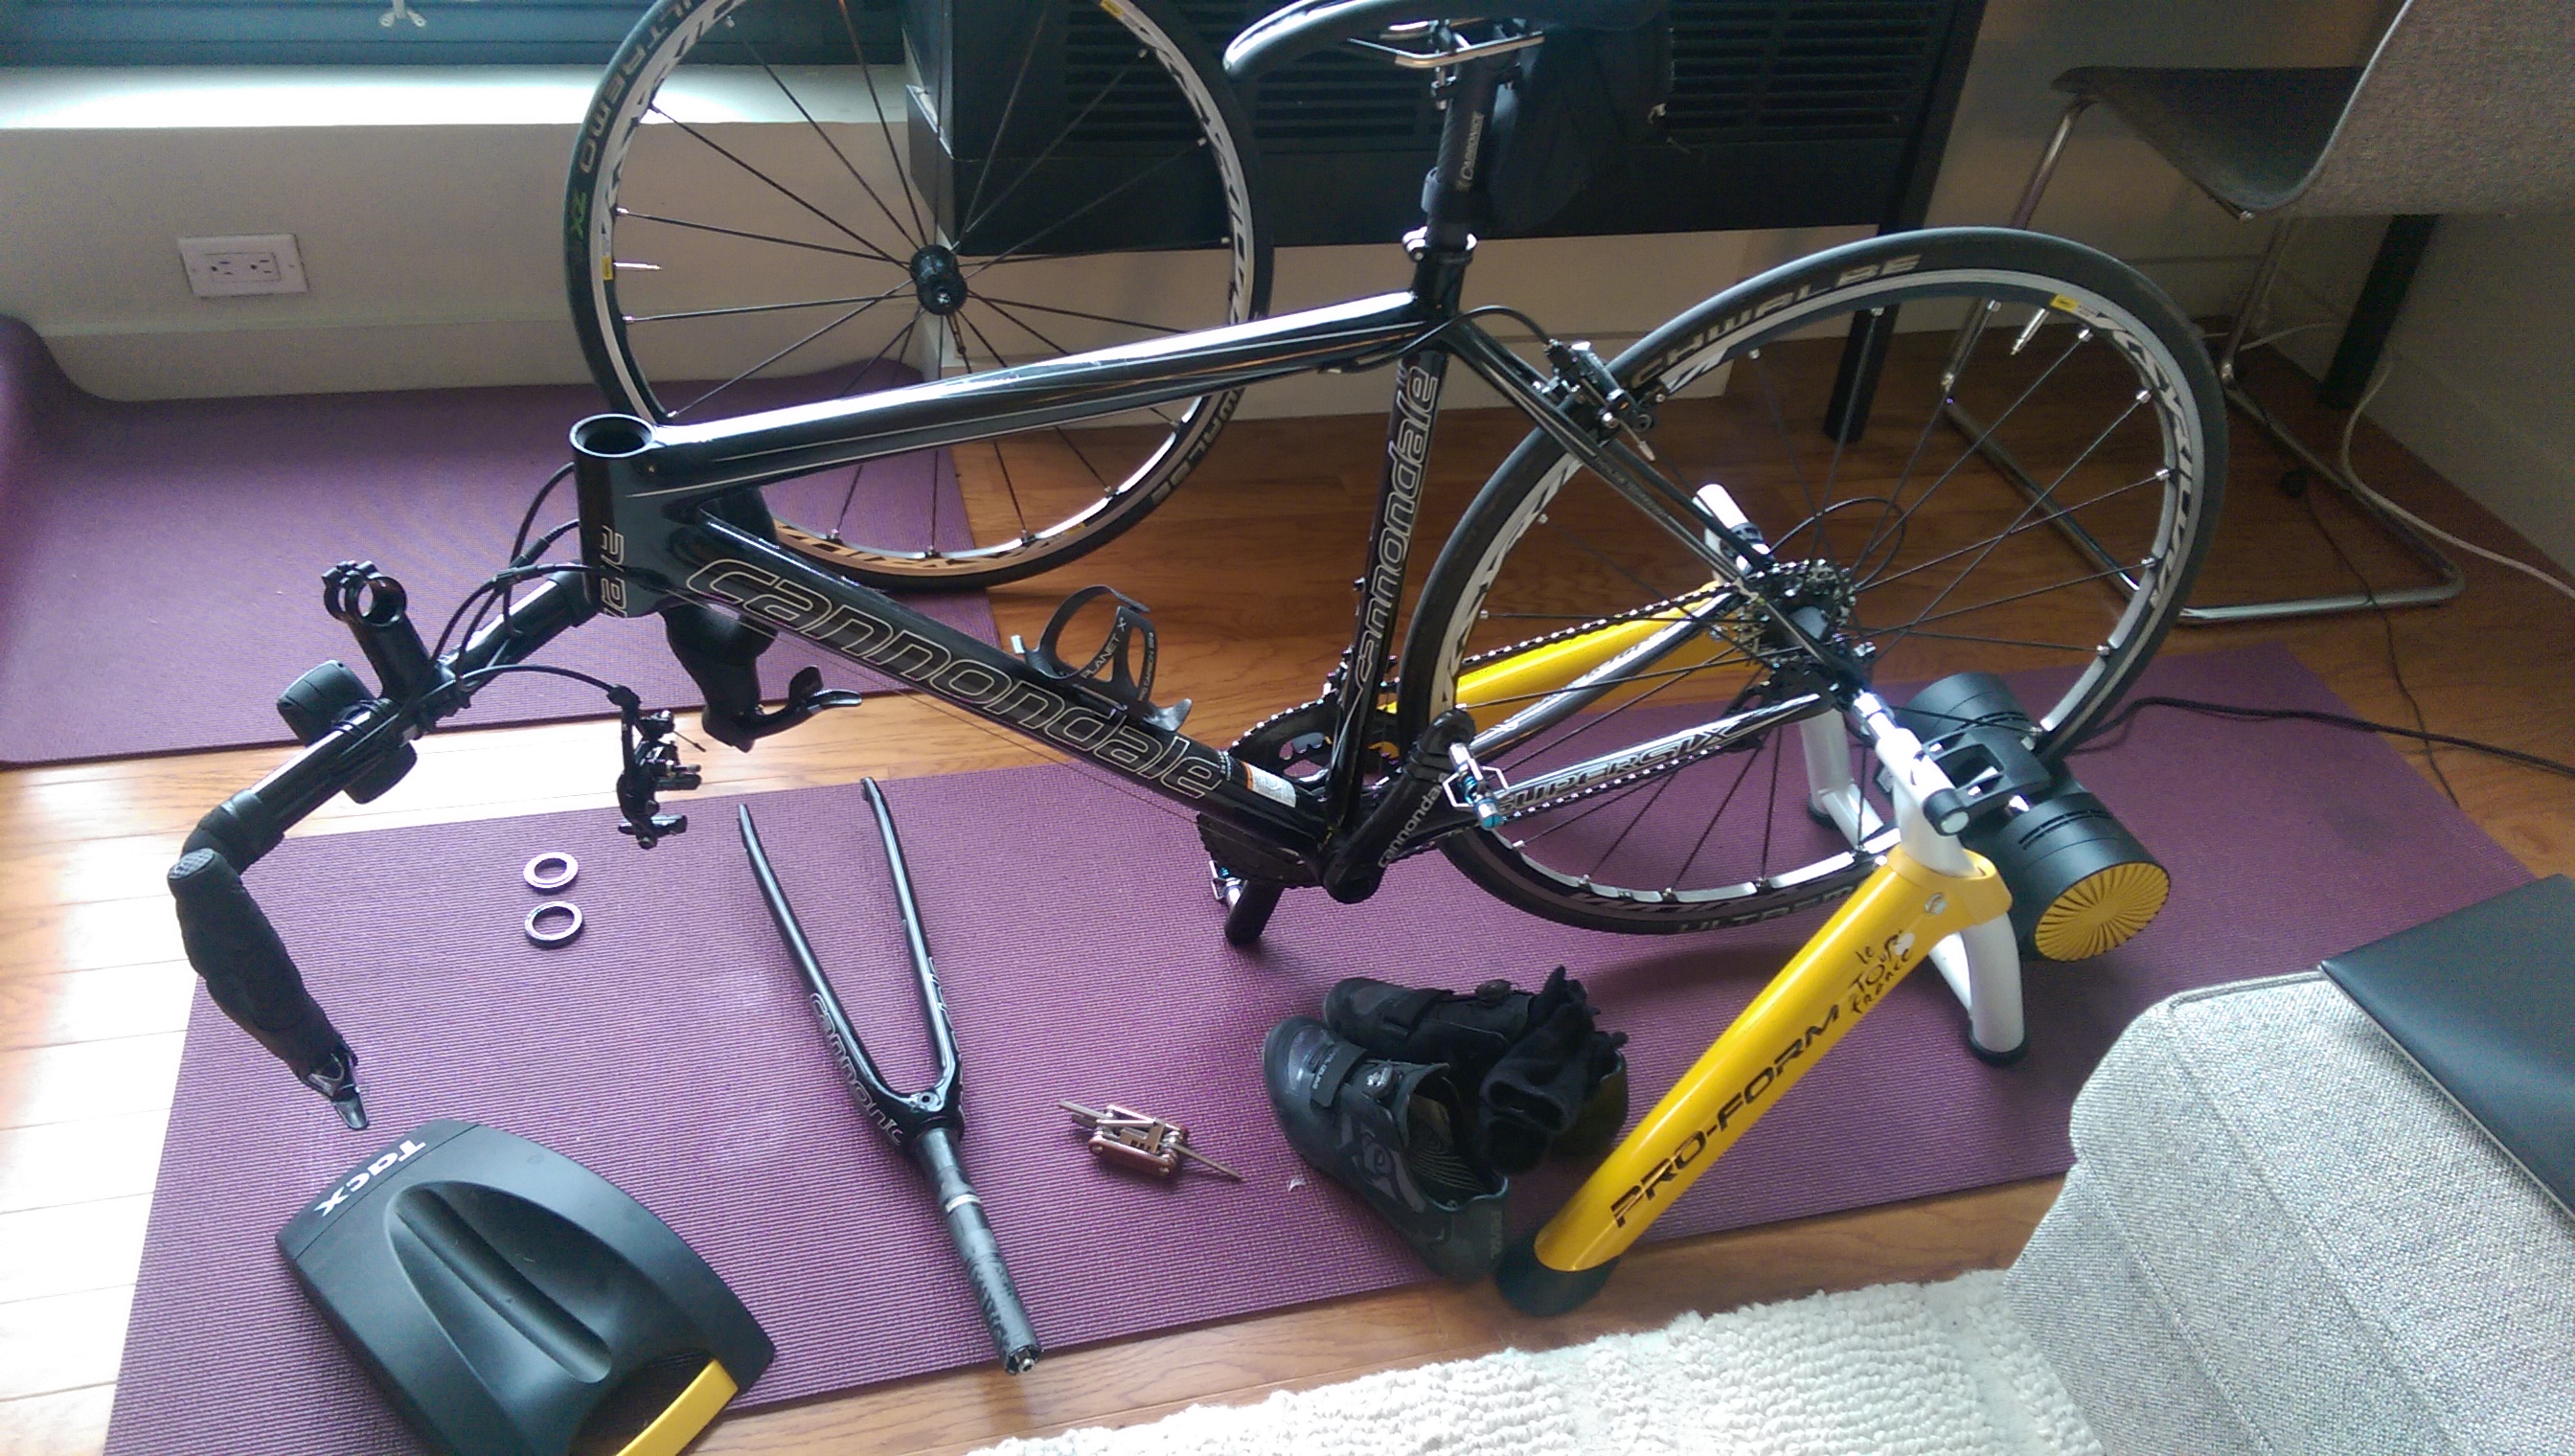
Bike upgrade time!
Greetings bike geeks… This is Mark, Xin’s husband. We thought it’d be useful for me to blog about my experience upgrading my bike, which could be useful information for others. I’ll sneak in from time to time to post on other topics as well.
After going through a great bike fitting session (thanks Libby!), I had probably the best excuse I will ever find for upgrading parts on my Cannondale SuperSix Evo.
The Bike Upgrade
Here’s the upgrade list:
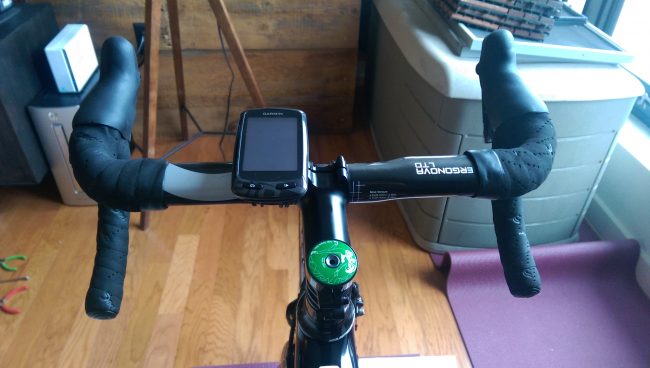
- 3T Ergonova LTD handlebar
- Carbonice Flotte Lotte seatpost
- Extralite expander and top cap
- Lyti stem
- Eggbeater 11 pedals
- Selle San Marco Aspide saddle
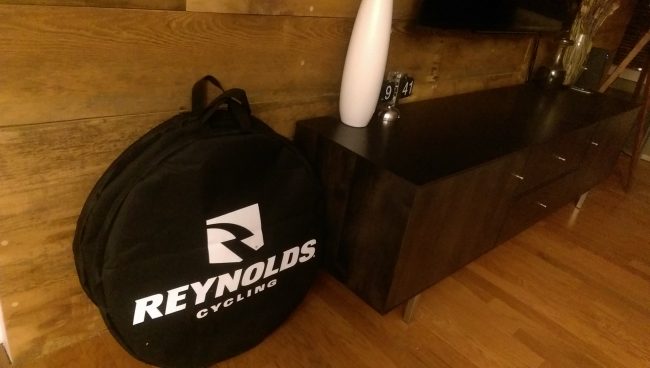
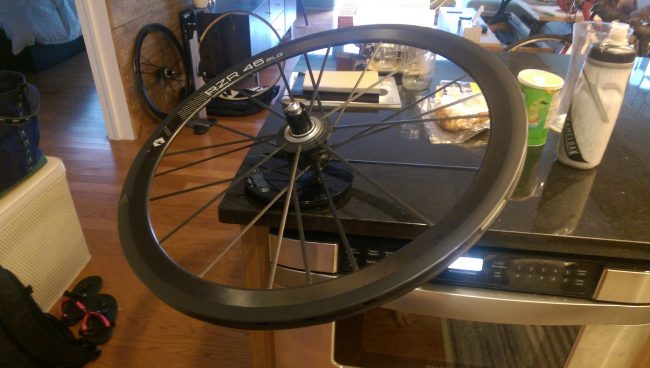
- Reynolds RZR 46T wheels
Shout out to Starbike for offering super prices (online price match FTW), customer service that goes way above and beyond, and being the go-to bike shop for me, despite living in America.
Here are some accompanying photos. Since pictures are worth a thousand words, and with all the photos we’re taking with our smart phones & social media apps, we’re all prolific writers at this point. Did you know that 75% of all photos EVER taken were taken with a phone? But I digress…
(http://www.nytimes.com/2015/07/23/arts/international/photos-photos-everywhere.html)

D.I.Y. Fixing – The Nightmares
Nightmare #1: Internally routed Handlebars
Handlebars arrived… and they’re internally routed?! Ok, I should’ve known but I really wasn’t prepared for this. Internal routing means I have to remove/replace all the cables, pass them through the skinny handlebar, back through to the brakes and derailleurs, and then somehow readjust everything. Oh wait, surprise – my frame has internal routing too (face palm). It sounds easy now that I’ve done it.. but at the time it was pretty daunting. In the end, Youtube came to the rescue. For anyone caught in my predicament: watch all the GCN videos on replacing your cables/brakes/derailleurs about 3x each and you should be set. Ok, nightmare number 1 resolved.
Nightmare #2: Carbon Fork Destroyed?
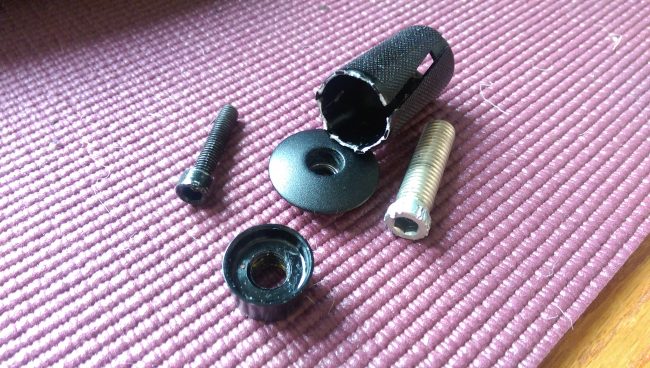
Oh here’s finally the easy part, since I’ve basically spent a few days figuring out the how the mechanical parts – shifters, derailleurs, cables, brakes, of a bike work, now just to swap out the expander and top cap, right? Not! For some unknown reason, the expander I had in the fork was firmly and permanently lodged. It’s a simple design really: top cone and bottom cone wedge into a metal sleeve – sleeve expands to fit the fork. I don’t know how but the top cone was pushed so far into the sleeve with nothing to grip or leverage on. Swallowed my pride, took it to the bike shop next door, and… they proceeded to mangle it up completely.
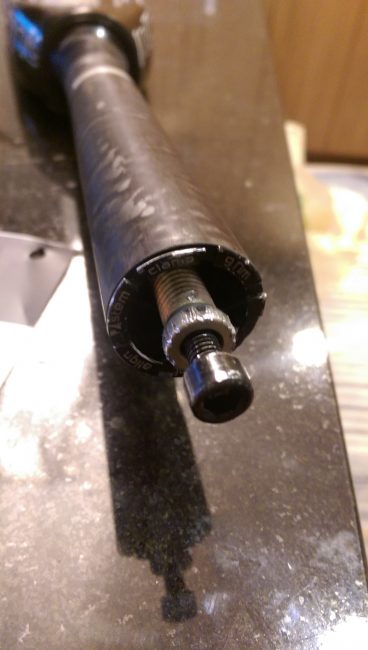
See those marks around the bolt? That’s from them clamping the carbon fork in a vice and hammering the crap out of it. Well, long story short, took them to the bike shop that did my fitting and the mechanic (Sammy from Bicycle Habitat) was able to undo the damage, extracting the plug and saving my fork thankfully. It was quite genius really – instead of trying to pull it out, Sammy decided to break all the tabs and push it further in. With the top cone all the way in, the sleeve disengaged and fell right out. All is well! Back to riding!
Installing Tubular Tires
In case you haven’t realized, the new wheels are tubular wheels. That means old school gluing technology is in order – put first layer onto the rim, wait 24h, put second layer, wait 24h, put third layer on, and you’ve got a 60 second window to install the tire on correctly. Don’t screw up!
Isn’t it amazing that such old school technology, when paired with state-of-the-art carbon fiber & aerodynamic knowledge, leads to a top of the line wheelset?
In case anyone is interested in my notes for tubular installation, here it is. This represents a consolidation of reading through the Starbike forum’s tubular thread, Park Tool’s helpful online guide, instructions from individual manufacturers (Reynolds, Enve, Zipp), and selected YouTube videos.
https://www.markandxin.com/tubular-instructions/
The Final Product
Before:
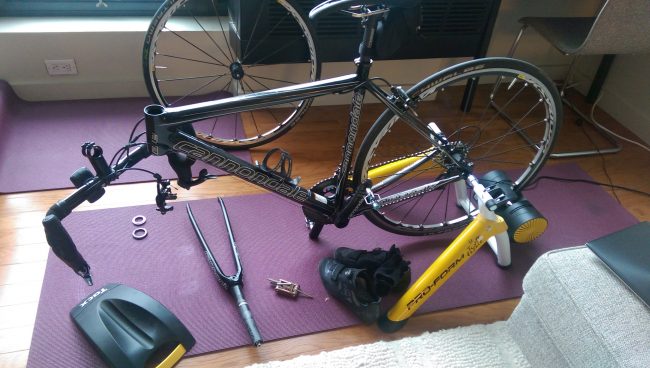
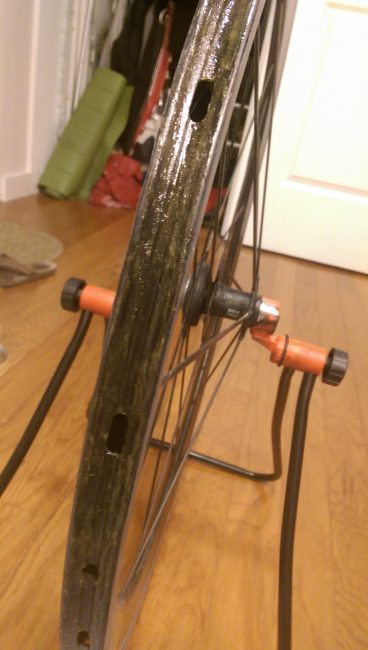
After:
You May Also Like
May 2017 Spain Cycling Trip Video
February 23, 2018
Second bike crash in 4 weeks
August 1, 2016
One Comment
Pingback: