Annapurna Circuit – Everything you need to know, including top 10 tips
The Annapurna Circuit is by far one of our favorite treks, hiking alongside the majestic views of the Himalayas while experiencing the cultural diversities of the different ethnic groups in the villages. Here’s everything you need to know before taking on this trek.
TL;DR version? Skip to this part: Top 10 tips you absolutely need to know
Introduction
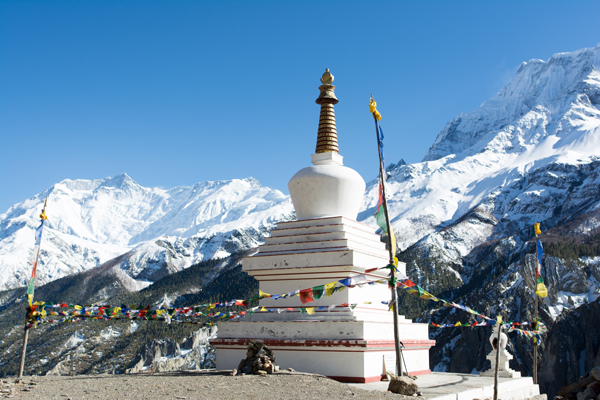
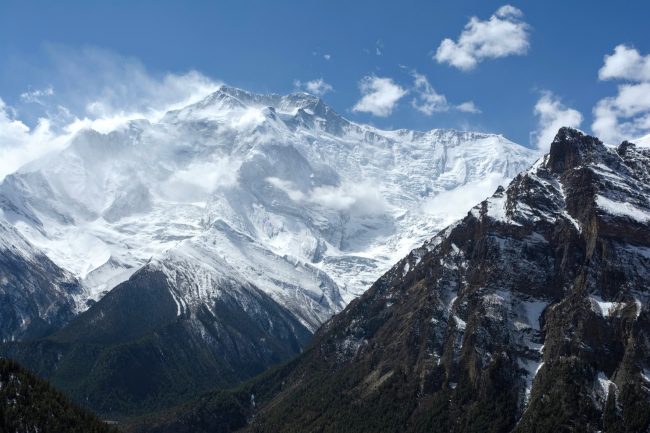
For those that are not already acquainted with the trek, the Annapurna Circuit is a multi-day trek in the Annapurna range / region in the Himalayas.
Quick facts:
- This passes through four regions in Nepal: Lamjung, Manang, Mustang and Myagdi
- Lowest elevation: Besisahar at 820m/2,690 ft (many start here), highest elevation: Thorong-La pass at 5,416m/17,769 ft
- The Thorong-La pass is the highlight / summit of the trek, and trekkers SHOULD spend time acclimating to the high altitude in order to complete the trek
- The trek can last anywhere between 2 weeks to 20+ days, depending on where you want to start and end (super-sonics may complete the trek much quicker, but why speed past these views?)
- Parts of the trek are accessible via vehicle/motor roads, so trekkers have some flexibility
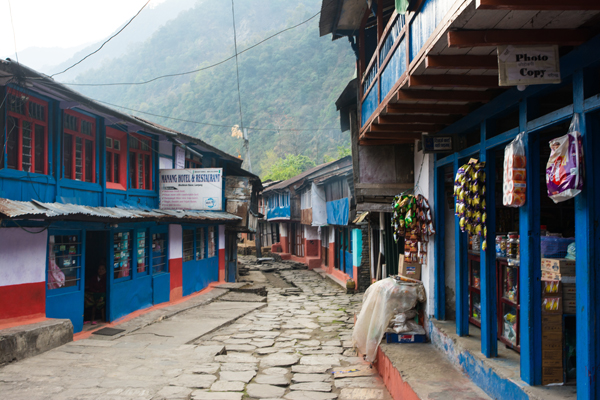
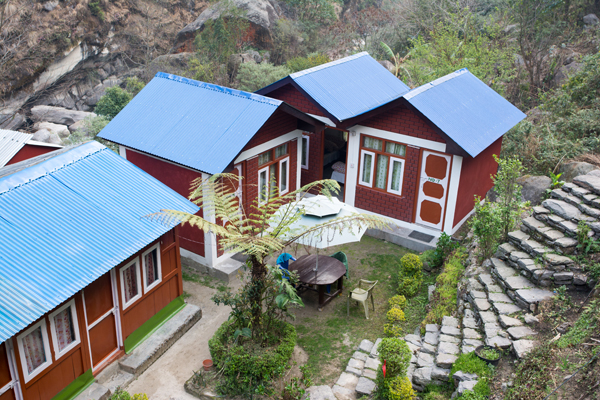
- This is a tea house trek! Sounds fun ain’t it? This means no need to camp or cook. All tea houses provide meals for people staying there, or are passing by for lunch. In many cases, lodging can even be free if you promise promise PROMISE to eat dinner and breakfast
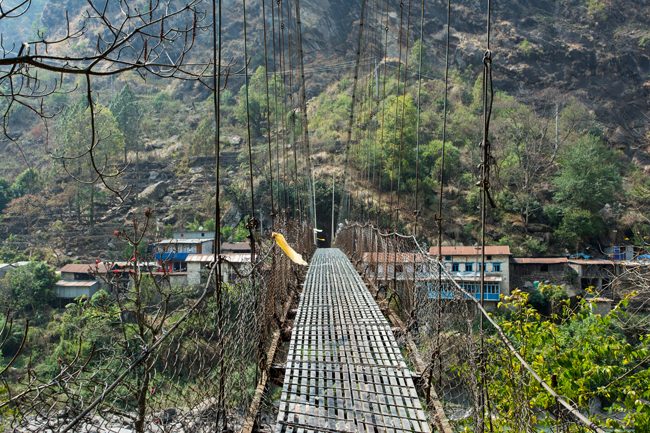
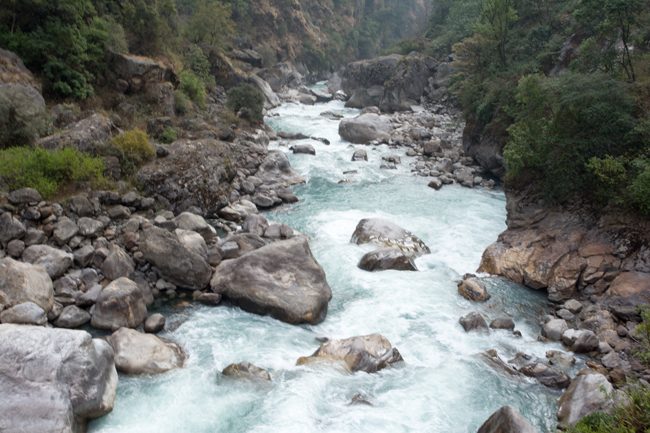
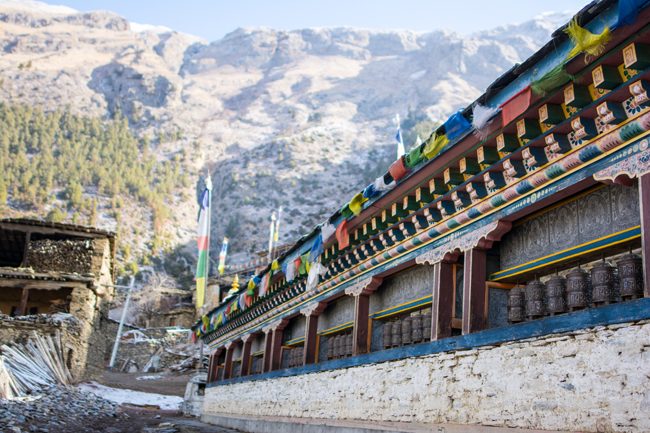
Did you say parts of the trek are accessible by vehicles???
Yes, yes the much debated point about the Annapurna circuit. We, too, had mixed feelings about this initially – but we still were able to enjoy the trek despite having to walk aside passing vehicles, especially from Jomsom (latter half of the trek if hiking anti-clockwise) onwards. Note that ACAP have developed the NATT trails that lead you through alternative routes free of vehicles, documented by nepal-dia.de in his guide. Some segments may take longer than walking along the road but could be well worth-it. We did a mix of both depending on how we felt that day and how we were doing on time.
Also, having parts of the trek being road-accessible means that the tea houses are more well-built and well-stocked, making your trek more comfortable. Ultimately this improves the quality of life of many living there. So, let’s do without the whining and move on!
You mentioned high altitude. How difficult is this trek? Do I need a guide? What is the weather like?
We think this trek is very doable for anyone that has the ability to walk long distances with load on their backs. If you like being active, do not have any pre-existing injuries, and are careful with planning and managing your pace to match your ability to adapt to the altitude, you will have NO problems doing this trek.
- Guide/Porters: We did this trek self-guided without porters, and found it very manageable. In our humble opinion, guides and porters are probably not needed, but you could choose to do that to have a more comfortable trek. It’s just not our style.
- Weather: Difficulty varies based on time of the year. We did this trek at the end of March before the high season start in April. The second high season is in October-November. The weather is more manageable at these two times of the year (warmer, less chance of snow). The weather changes through the trek, so you’ll experience luscious green forests to alpine mountain climates.
- Note: June – August is the monsoon season, and we would strongly suggest avoiding this period (who enjoys walking in the rain and mud anyway). We’ve heard of people hiking in December – February to enjoy the solitude, but the cold weather and chance of snow/snow storms add to the risk of getting sick and having to turn back.
- High altitude: We saw a handful of people who unfortunately have to turn back because of getting sick from the altitude. We think this can be avoided if the trek is planned and managed properly. Don’t fear this even if it’s your first time hiking in high altitude. (See top 10 tips below)
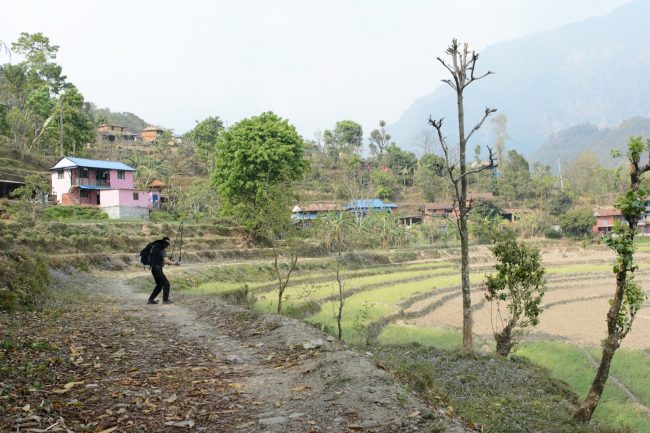
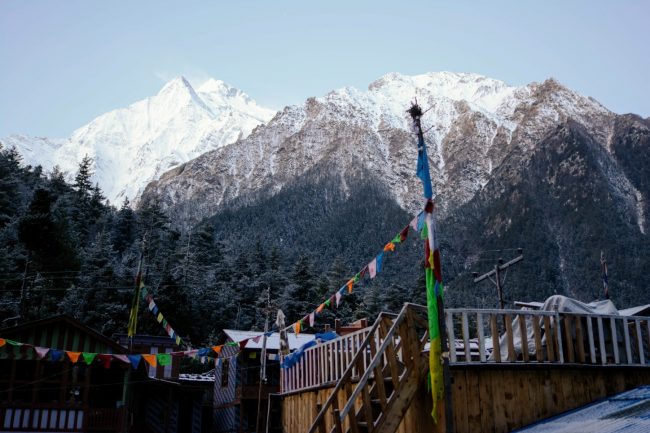
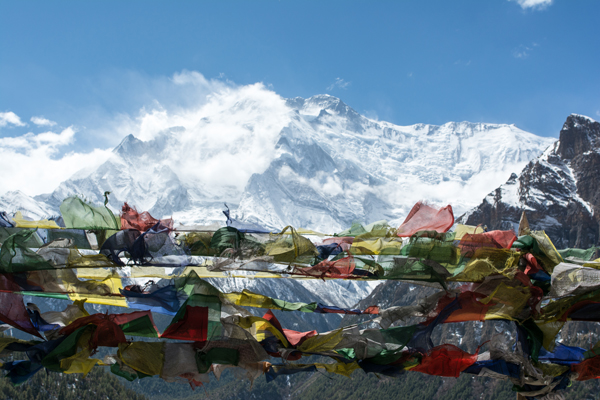
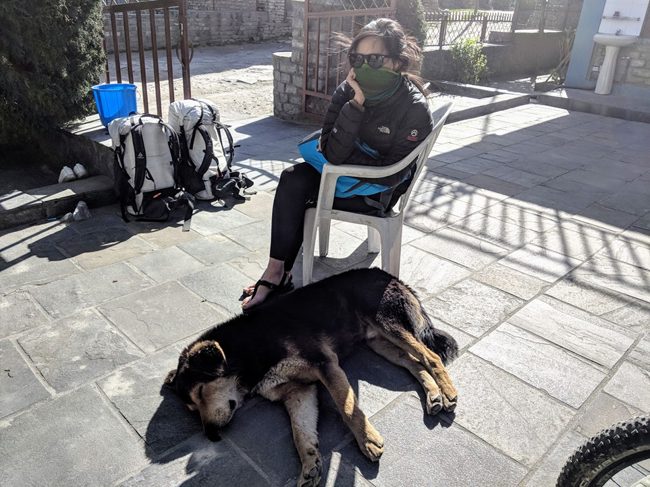
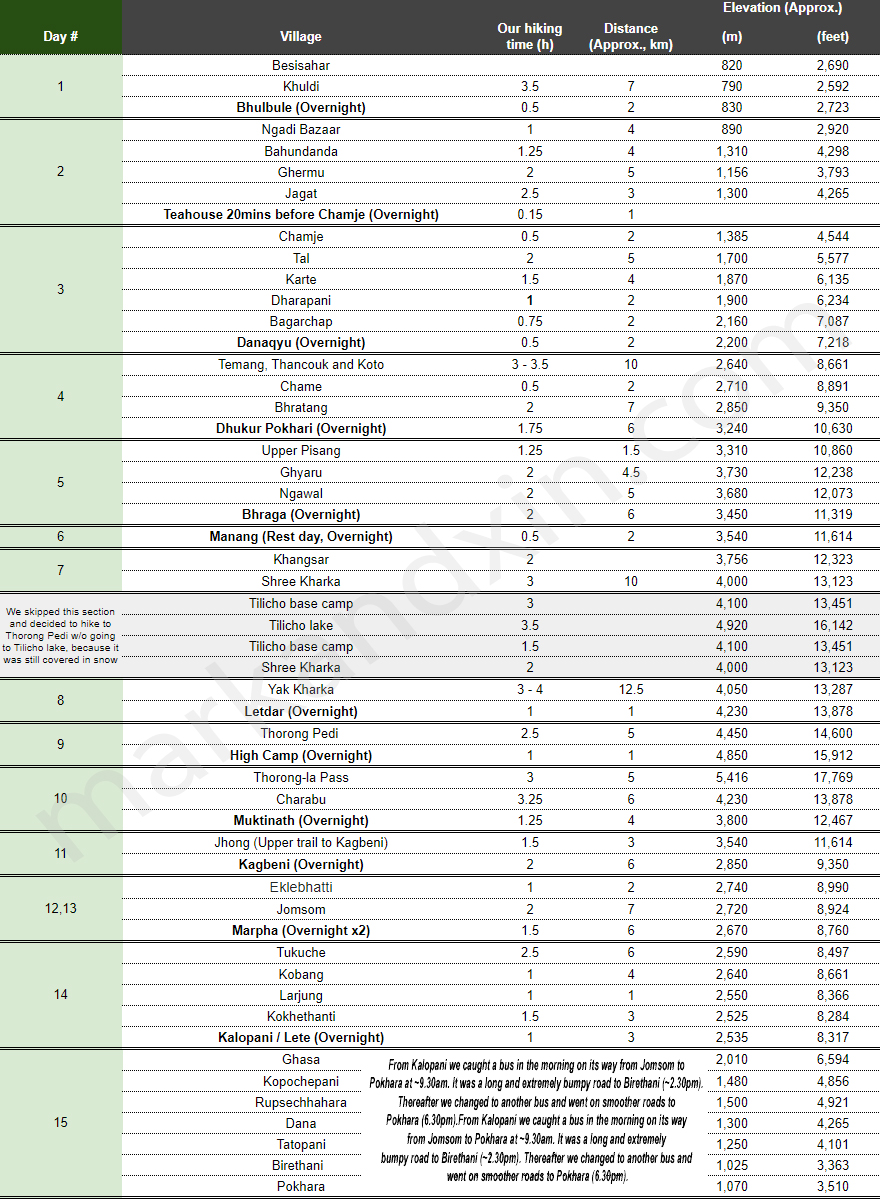
Our itinerary for reference
For the full itinerary including comments on each day + teahouse details, please click here (you’re welcome!)
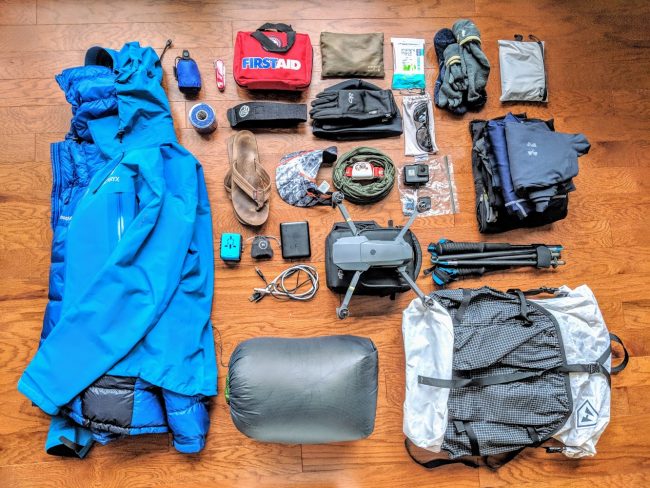
What should I pack?
Short answer: not as much as you think. It’s a teahouse trek, so there’s no need to bring along your tent, food or cooking supplies. Less is more for this high-altitude trek. Luckily we’ve we already have a blog post up here with all the things we packed, and their weights!
How much did the trek cost?
For this trek in particular, it depends on whether or not you hired a porter/guide, how much you are paying for your rooms (they can be free!), and how much you eat (really). There’s no one right answer, but here’s how much we spent:
43,945 NPR (or 21,968 NPR per person) for a 15-day hike, ~1,500 NPR per person per day, or ~13USD per person per day (as of July 2018).
Disclaimer:
- We did not hire any guides or porters
- We did not drink any alcohol
- Accommodation was free for the most part. We can’t promise it will be free all the time, but the chances are higher if you are traveling with groups (hence booking multiple rooms at once), or are traveling during “off-peak” seasons. A good reason to make friends with fellow hikers!
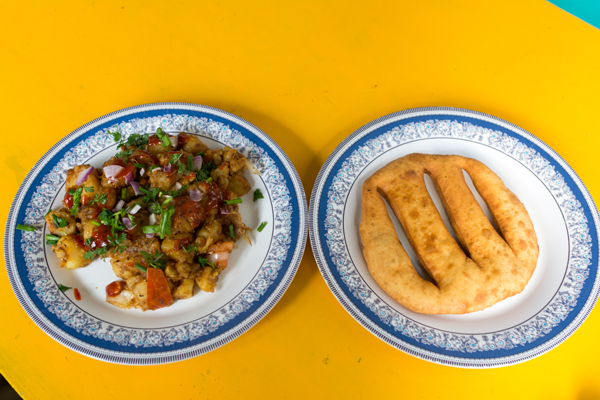
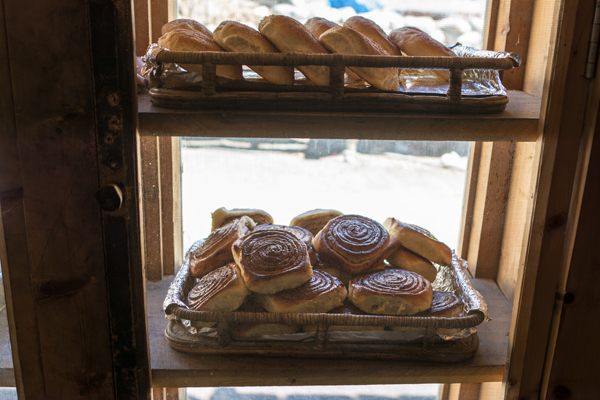
- We usually snack for lunch as opposed to ordering a full meal at a teahouse. We ate mostly Dal Bhat for dinners and have simple breakfasts
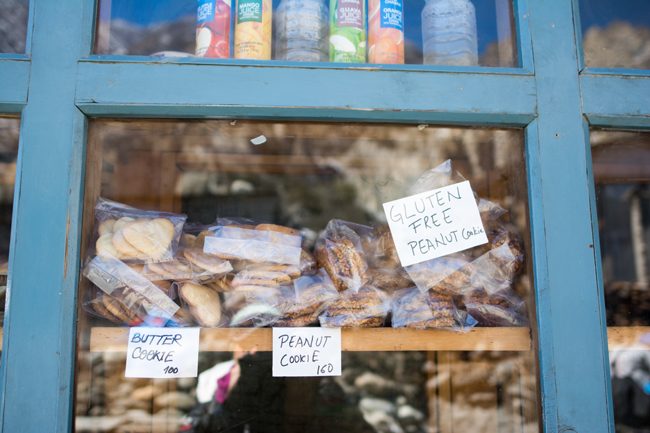
All that said, if you like to indulge in desserts, booze, western food (in Nepal?? why???), and eat your weight in Snickers bars everyday, you might want to add a bit of a buffer to the price above.

Top 10 tips you absolutely need to know
Take a quick glance through these top 10 tips before heading on your merry way!
1. Bring moo-lah – do not expect there to be ATMs in villages, and do not expect the ones at the larger towns (Chame, Manang etc) to always work. You can certainly use the guidelines highlighted in the above section to gauge how much to take with you. You do not want to end up in the middle of the mountains tired and cold without $$ for food or water
2. Drink good water and go veg – even during an off season we’ve met quite a few hikers that suffer from traveler’s diarrhea or food poisoning during the hike, and have to hike back down the same way they came. Three golden rules to abide by:
- Drink bottled water, or if you are drinking tap, make sure you filter it GOOD before drinking. We use Grayl bottles). Also use bottled water/filtered water to brush your teeth (yes, seriously! Please!) Whenever there’s a safe drinking water station, chug whatever water you have and fill em’ up! (but be aware there can be fake water stations)
- For food, stick to vegetarian meals. Dal Bhat is delicious and you get a different version ever tea house you go to, so you never get bored! It is the secret to the strength of yak herders in the Himalayas. Also, you’ll find that your stomach works harder to digest food at altitude, so it’s best to keep your meals simple
- Stay away from meat and milk at the tea houses, especially at higher altitude. A burger only SOUNDS delicious, but it is probably made of frozen meat that was thawed & refrozen multiple times for months whenever the fridge stops working
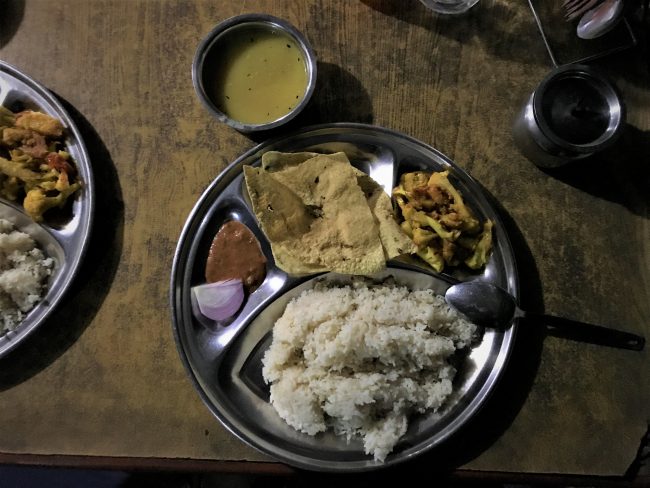
3. Bring less to hike more – At some point the altitude will get the best of you and add 5 tons to every kg you bring. You will feel all of it, even the weight of your boots. Don’t forget that water adds weight too. Put the jar of peanut butter at home. Seriously, pack light. You will thank us later
4. Don’t try and be a hero. Acclimate properly – Why rush through the sights? Your only bragging rights isn’t the time you took for the circuit, but the photos and memories you take away from it. Unless you’re an expert, don’t ruin the experience by rushing too high too soon, then suffering from altitude sickness and cutting the circuit short, and even worse walking backwards. Go google “rule of thumb of acclimatization”, and trust the experts. (Psst, starting at 10,000 feet (3,000m), you should spend each night in increments of 1000 feet per night)
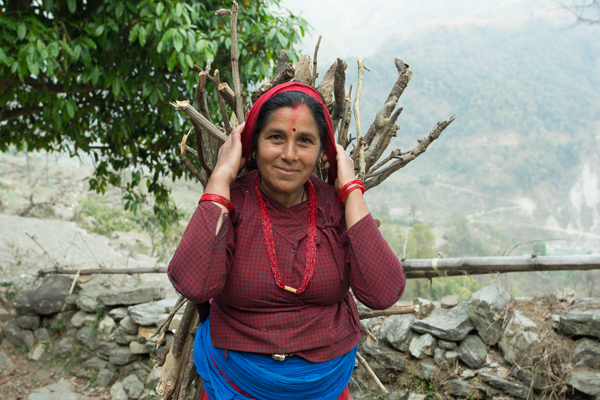
5. Be nice to the locals. They can save your life – We stay in their homes, we eat their food, we walk their roads and stroll by their private property. Yet the locals are nothing short of being welcoming to us, willing to help and guide us when we need them. Please do your part as a responsible tourist and clean up after yourselves, say thank you to the food they cooked for you, greet them “namaste” with a smile everytime you walk past them, and show that you appreciate them and love their home as much as they do
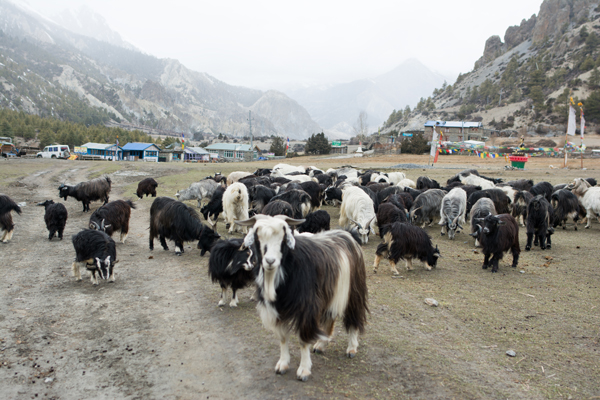
6. Hang out with other hikers – It does pay to hike in groups when it comes to finding cheap accommodation. Hosts are usually more willing to give your room for free if they know a group of hungry hikers will be ordering dinners and breakfasts with them. The emotional and mental support can go a long way, and it never hurts to have friends to talk to during your long tiring walk. During cold nights us hikers from all over the world (Europe, Russia, Korea, India, Israel, US etc) huddle together in front of the fire, exchanging stories and sharing snacks while waiting for our dinners. Days later we would exchange high-fives when we meet again in Muktinath after crossing Thorong-La… It was one of the most memorable parts of the hike
7. Haggling is allowed, but be nice – Sometimes to get a free room you’ll need to ask for it. We usually ask a few places for their lowest prices (ask them if it could be free), then double back to the place we liked the most and told them the other lodge was willing to give us free accommodation. It worked almost all the time, but remember to be honest because chances are all the hosts know each other. Food on the menu is usually non-negotiable, but we sometimes negotiated snack prices by buying more at a time. As always, be nice, and know that 100-500 rupees may not be much to you in the grand scheme of things, but can mean a lot to them
8. Don’t expect electricity to always be there – A trip to Nepal really humbles people, because most of the country does not even have access to basic things like electricity and water. When you stay at a lodge, be prepared to not have access to light for a few hours or so, or even longer if there was a storm that day. So don’t whine or make a face if there isn’t Wifi available. Take time to chat with others instead
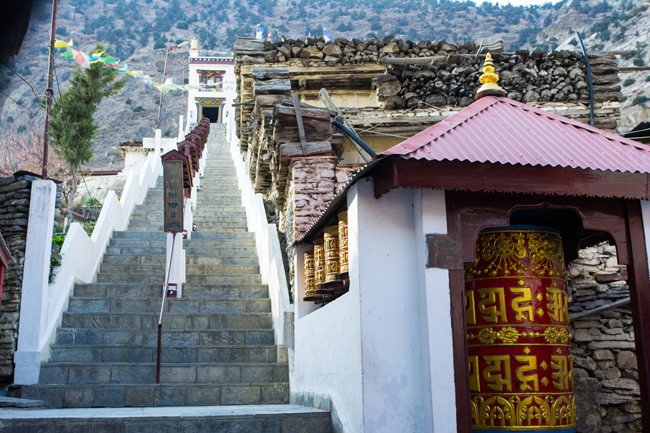
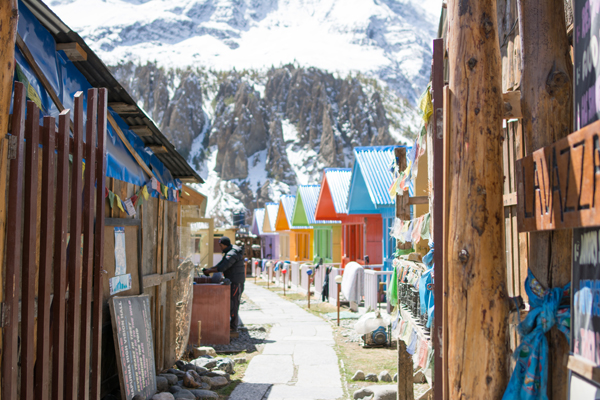
9. Don’t skip the first & last parts of the circuit – It may be tempting to take a jeep as far as possible into the trek and end your walk right after the pass, but trust us, it’s worth walking most of the trek instead of taking a jeep. We loved our walk to Tal (very Jurassic Park-esque!), and the journey out of Muktinath through the Mustang region was one of our most memorable parts of the trek. If you are short on time, we would recommend at least starting your trek at Jagat/Chamje to experience the change of ecosystems as you walk into Tal and through to Temang, and also take the walk out of Muktinath to Kagbeni and Marpha, two of the most characteristic towns of the trek. We loved Marpha so much that we spent 2 nights there.
Still not convinced? Check out the photo diary of our time in Kagbeni and Marpha.
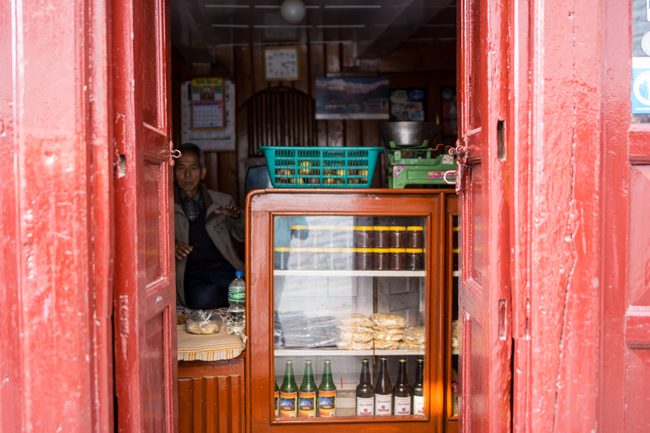
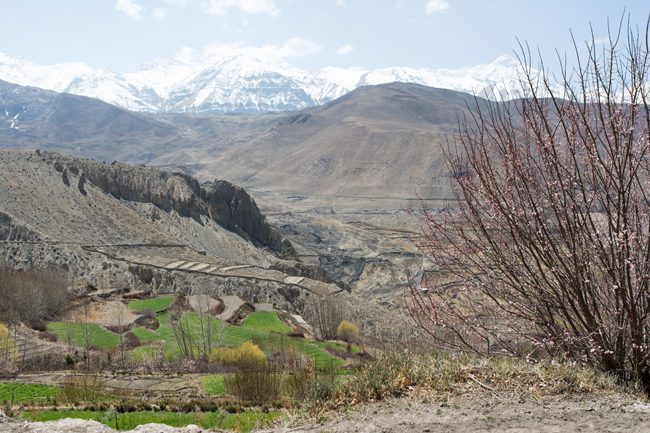
10. Add a buffer day or two – The weather may not always be great (especially if you are hiking during the off-season), and you may have accidentally drank the water while you shower and now have diarrhea. Things happen, especially if you are trekking at altitude where weather conditions vary. It’s not the worst thing in the world to rest a day when you need to before carrying on your trek – again, don’t rush through the sights, you’ll only regret not taking in the moment at your best – building in one or two days of buffer can go a long way. If you end up finishing it earlier than you had expected, you can spend an extra day in one of the cool towns after Muktinath (European charm in Kagbeni, Beautiful Marpha, Hot Springs in Tatopani etc), go for a side trek, or just spend the extra days lazing around and stuffing your hungry hiker’s stomach in Pokhara
Still not convinced to go trekking? Check out our Annapurna Circuit trekking video!
Have questions? Feel free to leave a comment below. Enjoy trekking!!!
You May Also Like

Tokyo Food Trip (2017) Video
March 1, 2018