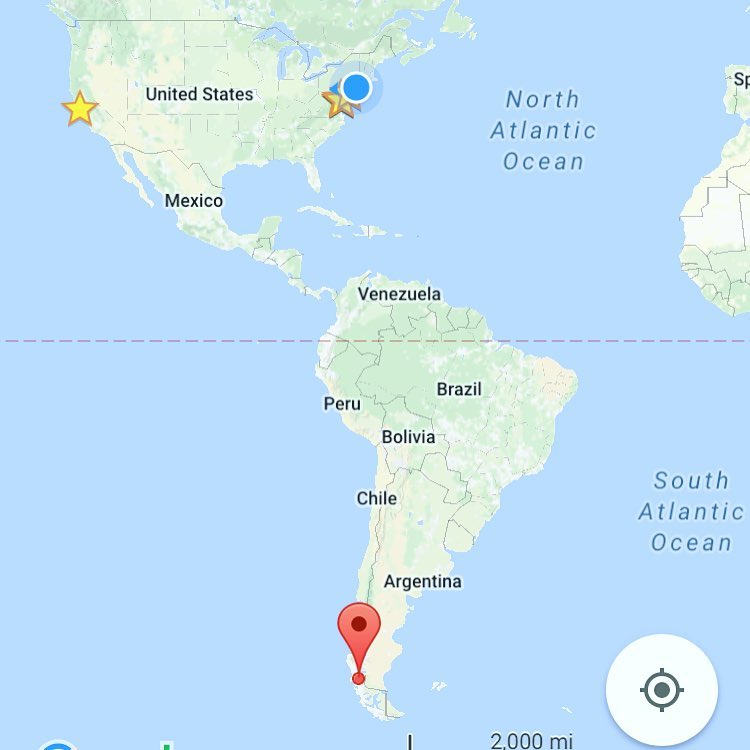
Torres Del Paine W Trek in Patagonia (Self-Guided)
We are back from our 10-day trip to Chile! Most of the trip was spent hiking the famous “W Trek” in Patagonia, while the remaining days were spent in the nearby towns to Torres Del Paine (Puerto Natales and Punta Arenas), and Santiago.
This is an incredible hike that can be done easily self-guided and offers incredible views throughout Torres Del Paine. There are many other versions of this hike, including the “O”, “Q”, or just as an out-back day-hike to Torres Del Paine from Hotel Las Torres.
Please watch our “W” trek travel video for snippets of our trip!
And here is some useful information / notes from our trip:
- Facts to know before you go
- How we hiked our version of the “W” Trek
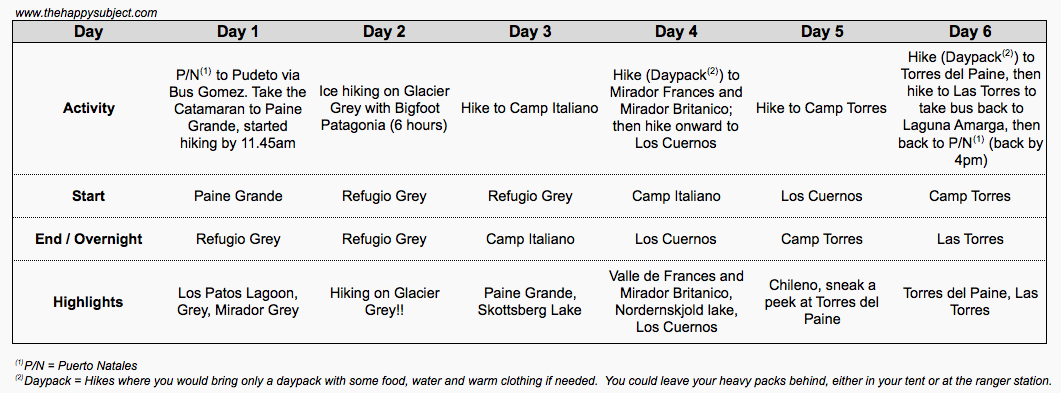
- Our itinerary summary
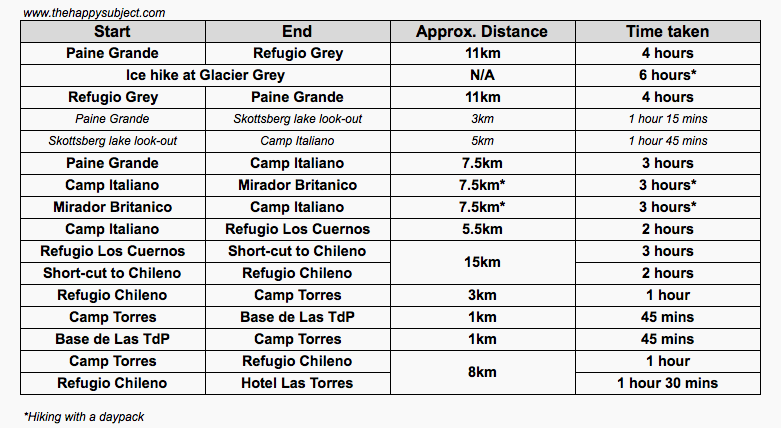
- Hiking distances and our actual hiking times
- Refugio / Campsite facilities overview
Facts to know before hiking to Torres del Paine
- No fire anywhere else aside from designated cooking areas (Read)
- Make reservations at all the refugios / campsites in advance (even if going during off-season, as sites may be closed / unavailable)
- One of the challenges we faced was the hefty camping costs at Los Cuernos (you can only book a campsite with fullboard / food. We met folks that showed up and were forced to pay $82 to camp! what a rip-off!) We ended up staying in the cabin, which was much more worth the money)
- Weather is generally unpredictable, and but when using weather reports as a gauge they could be accurate up to 2 days in advance
- Patagonian sun is unforgiving, bring lip balm, sunscreen, sunglasses / hat
- PACK LIGHT. This trek has very little truly “flat” or “pancake” sections
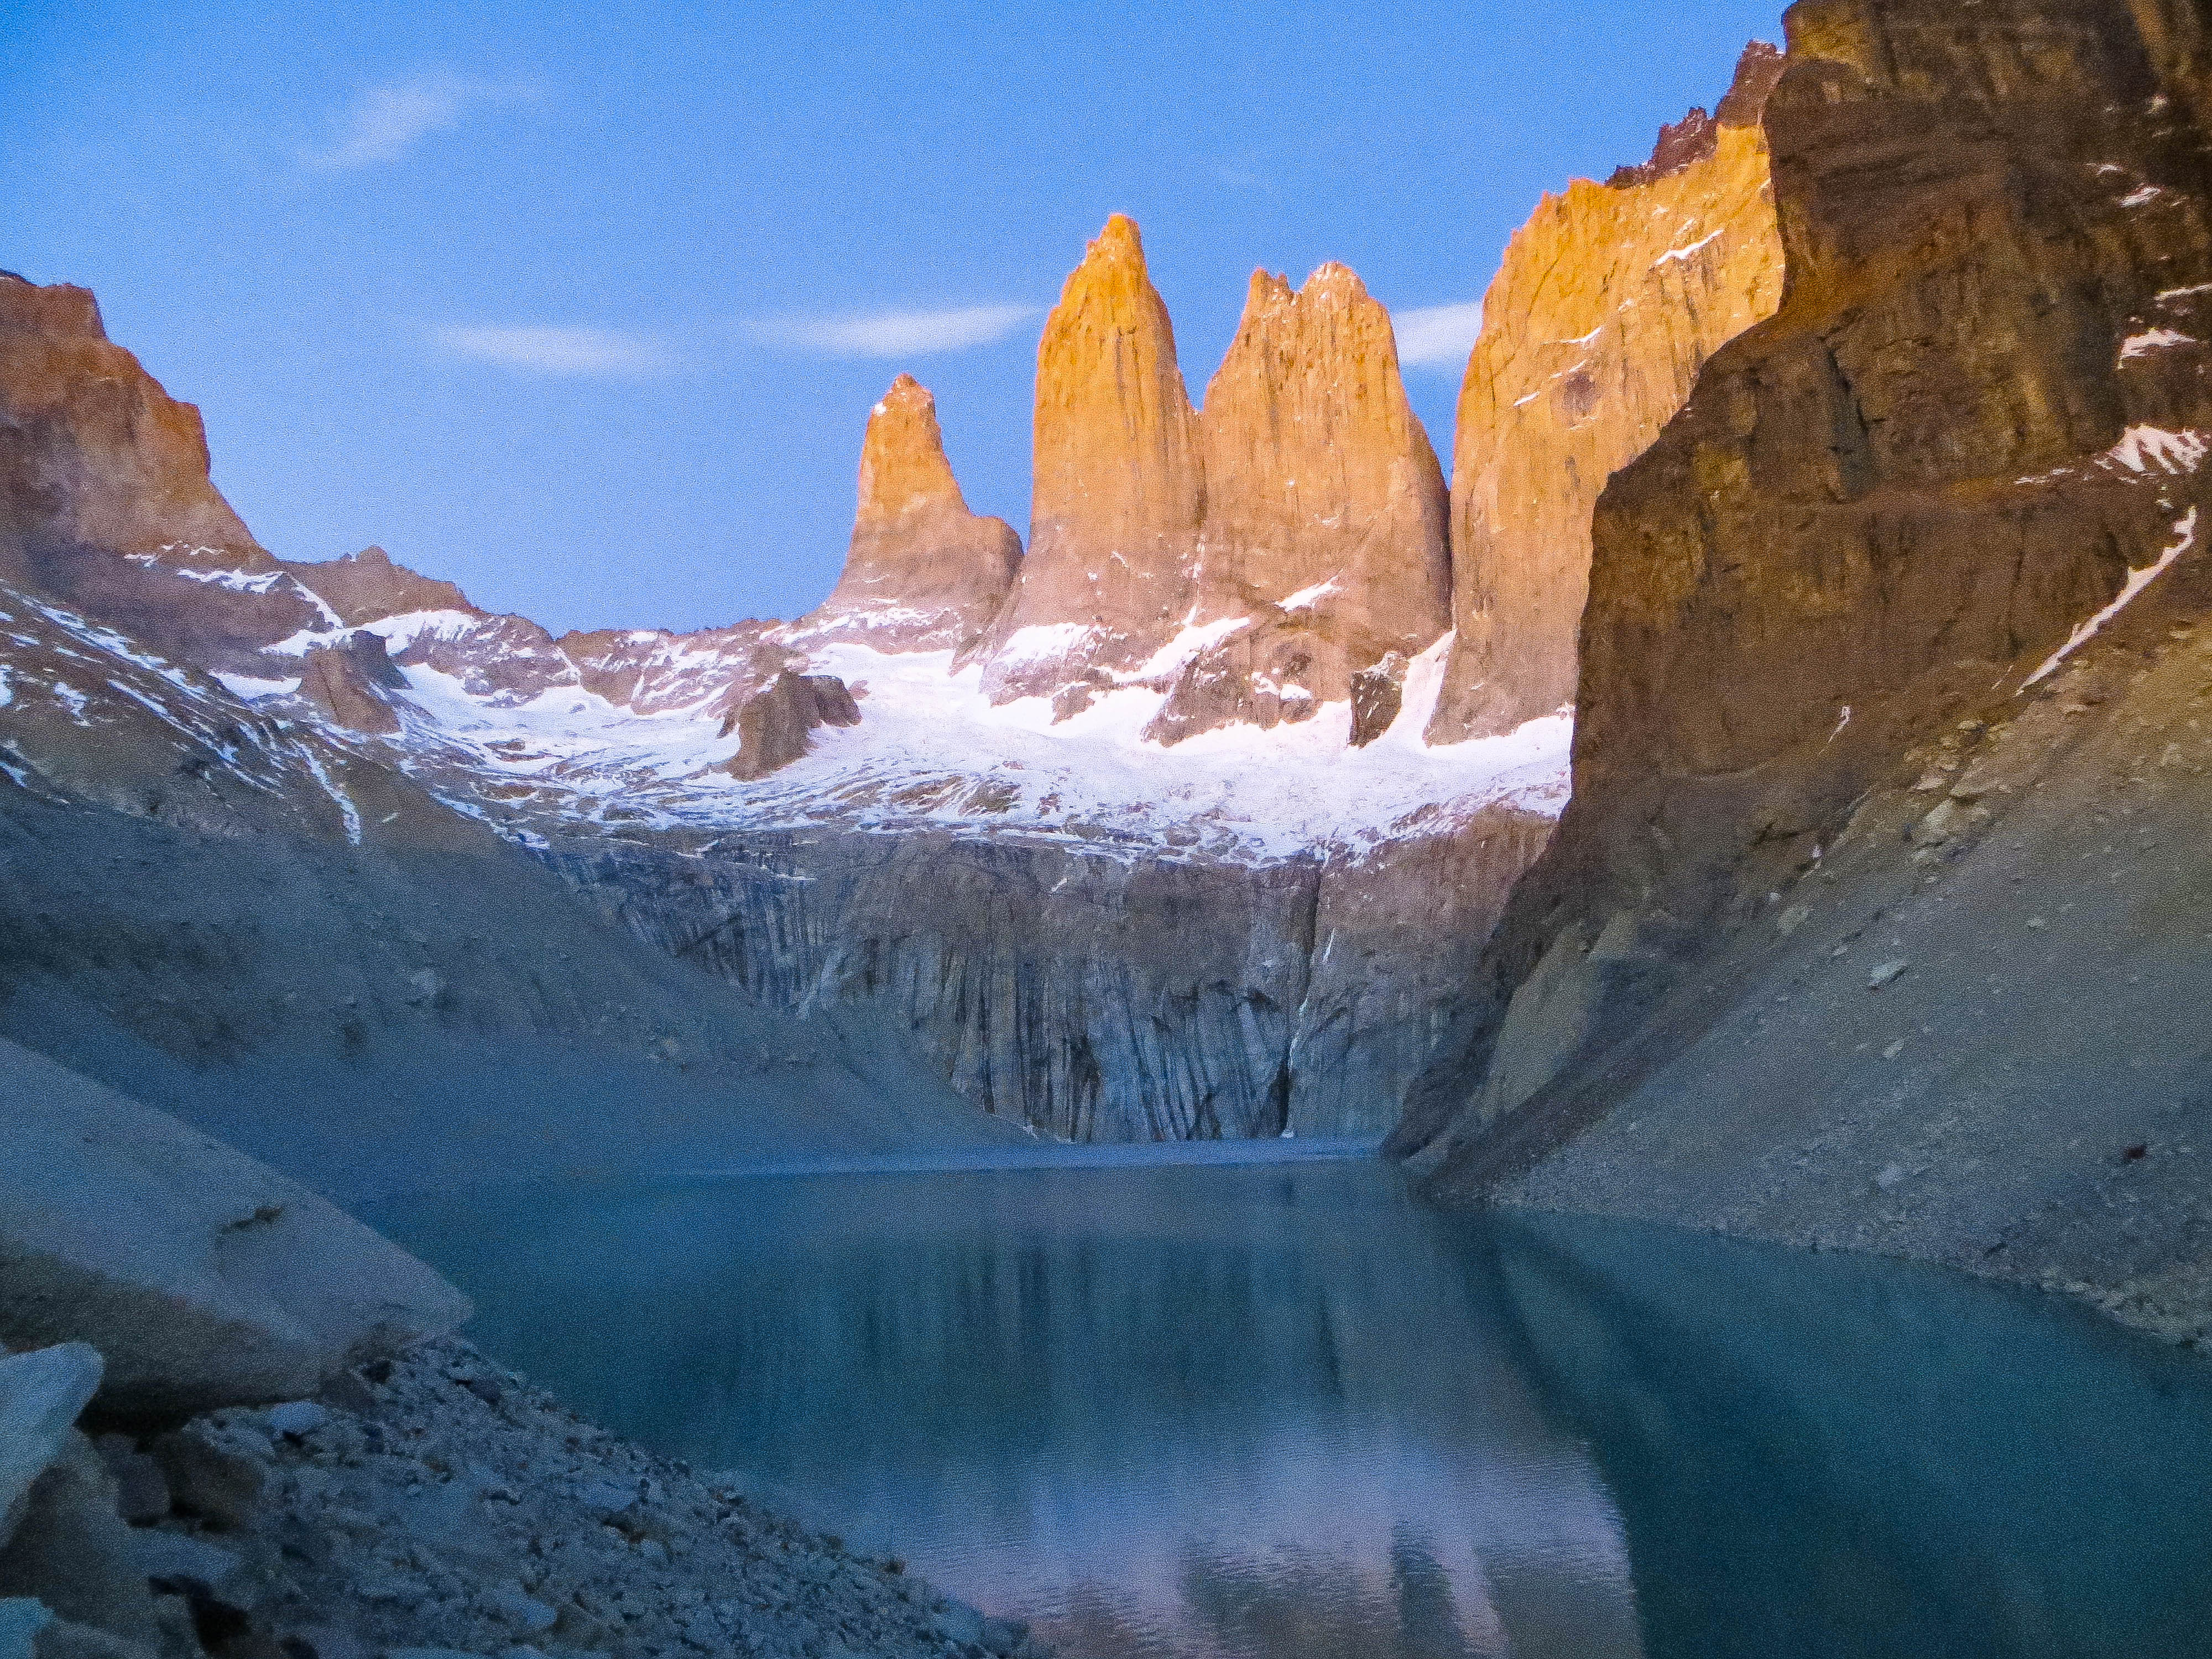
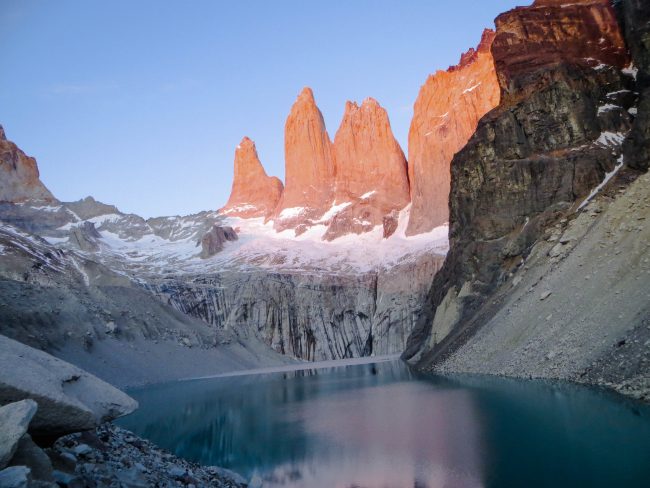
- Sunrise at TdP is a great photography opportunity, check the sunrise times and plan to leave ~1hour before, with a headlamp
- Most valuable hiking items: Wind / waterproof jacket, hiking poles, headlamp
- Bugs / mice are non-existent at the end of September, though there were some flies around our tent at Refugio Grey and Camp Italiano. We didn’t need bug spray. We had heard otherwise from folks that went in October, however
- Cost of snacks at Refugio are quite hefty, around 2,000-3,000 per packet of biscuits / chocolate. A big pack of Sahne-nuss chocolate bar was 4,500 CLP!
How we hiked our version of the “W” Trek
How we got there
- Fly to Punta Arenas (“P/A”): We departed from NYC, flying to Santiago first (10.5hr flight).
- Since we arrived early AM, but not early enough to catch a connecting flight to Punta Arenas (3.5hr flight), we took the first flight out the next day
- Take Bus Sur from P/A airport to Puerto Natales (the nearest town to the start of TDP): There may be other bus operators, but we went with Bus Sur so we could depart directly from P/A airport to Puerto Natales.
- Note that you’d need to book tickets / reserve in advance, since P/A airport does not sell bus tickets. You could select the pick-up from the airport via online reservations. Print your tickets!
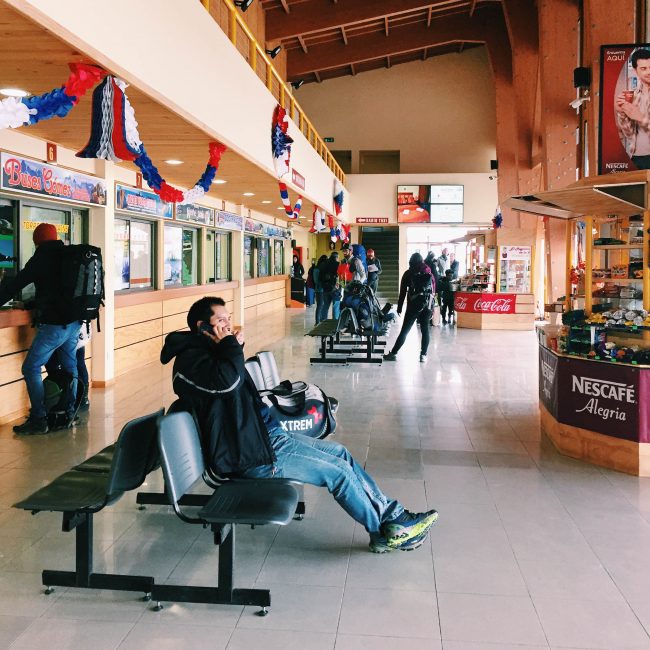
Bus Terminal at Puerto Natales
- Note that you’d need to book tickets / reserve in advance, since P/A airport does not sell bus tickets. You could select the pick-up from the airport via online reservations. Print your tickets!
- Take Bus Gomez (Note: other operators available) to start of your trek: Tickets can be bought directly at the P/N bus terminal. You’ll see the line of bus operator counters when you arrive at the bus terminal from P/A.
- The buses do depart on time, so please be early! Schedules are consistent across operators. We took the earliest bus departing P/N at 7.30am.
- Decide where you’ll like to start your trek before you get on the Bus to TDP! The buses stop at multiple places, but everyone would need to get off at Laguna Amarga to (1) pay the park entrance fee, (2) watch an educational video about TDP before getting back on the bus should they choose to continue on to Pudeto (where the Catamaran stop is) / Administration)
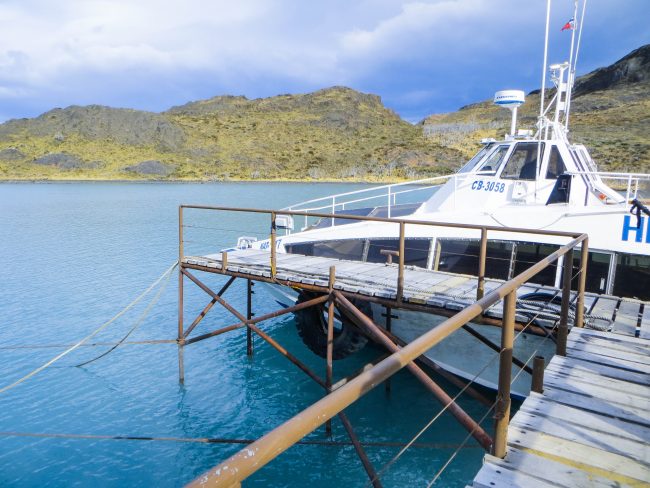
The Catamaran at Pudeto - Get off at Pudeto to take the Catamaran to Paine Grande: This is optional, for folks that decide to hike West to East (which we did). The cost is 18,000CLP, which is expensive, but the views on the Catamaran were incredible! Also this is an alternative to walking from Administration (one of the stops the Bus would drop you off at), which would save us some time / energy.
“W” Trek Itinerary Summary
We hiked the “W” from West to East, meaning we ended our hike at Torres Del Paine on the last day. We wouldn’t have done it any other way. Our packs were lighter on the last couple of days, which really helped given the steeper inclines to get to the Chileno / Camp Torres area.
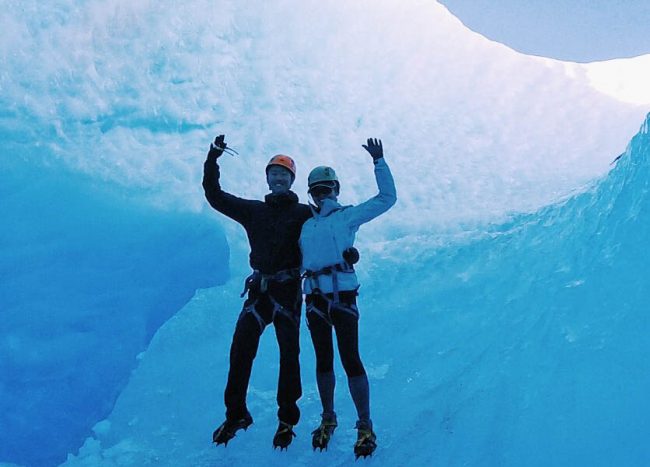
We reserved an extra day to ice hike on Glacier Grey with Bigfoot Patagonia (so worth it!)
“W” Trek Distance and Actual Hiking Times
The hiking times on the maps provided by the park were somewhat accurate – but thought it’d be helpful to share our hiking times.
Disclosure: We are amateur hikers! Note that we hike at a very comfortable pace (not trying to beat other hikers / includes photo-stops). These do not include eating / lunch stops.
“W” Trek Refugio / camp Facilities Overview
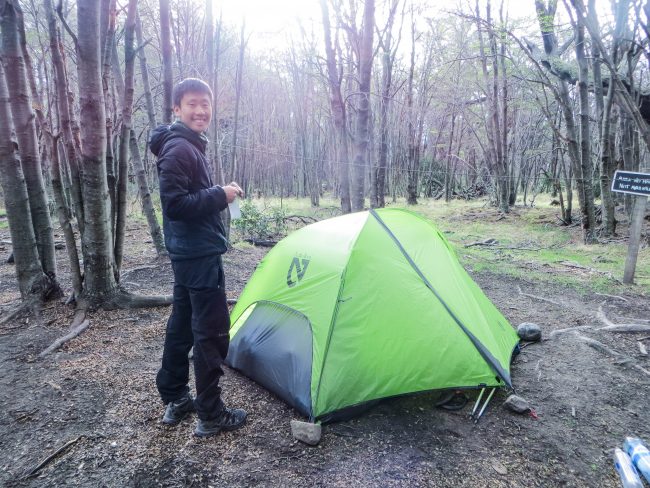
- Refugio Grey (note: we camped here): Really nice campsite, clean flushable toilets, shower facilities, hot-shower after 6pm, trash disposal, tap water available, tons of packaged food for purchase
- Optional hike to “Mirador III”, which we missed because Mark was dealing with an inflammed ITB
- Refugio Paine Grande (note: we did not camp / stop here): At first glance, really nice and pretty Refugio. Both Refugio Paine Grande and Refugio Grey are operated by Vertice Patagonia, so I would expect the same facilities
- Camp Italiano: Dark campsite (surrounded by trees), no shower with simple toilets without a flush, have to fetch water from river, no food, carry your own trash
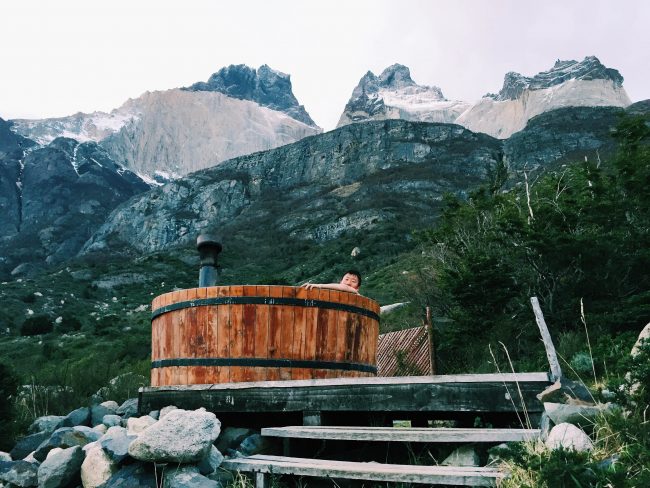
- Refugio Los Cuernos (note: we stayed in the cabins): Cabins available (such a pick-me-up after first few tough days! Room has a firewood heater, bed with blanket, separate shower from Refugio / camp, hot tub), otherwise has limited camping sites, limited food for purchase (unless you purchase meals, which we didn’t), shower facilities (hot-shower available), trash disposal, tap water available
- As noted previously, it cost $82 to camp at Los Cuernos. The rule where campers have to buy the fullboard meal plan to stay at Los Cuernos is ridiculous, and we hope Fantastico Sur would rethink their policy!
- Refugio Chileno (note: we did not camp / stop here): Looks similar to Refugio Los Cuernos except we didn’t see any cabins (both operated by Fantastico Sur), expect same facilities. Read a note about limited camp sites, so I would recommend making reservations in advance
- Camp Torres: Brighter campsite compared to Camp Italiano, no shower, flushable toilet (but weak flush!), we found a campsite near a flowing water pipe so we didn’t have to fetch it from the river, no food, carry your own trash
We hoped this was helpful if you were looking to plan your own trek! Feel free to comment or email us if you have any questions.
Second bike crash in 4 weeks
His & Her Bikes
You May Also Like